How I created this blog
As many github blogs born and die, my first post is how I created this blog using hugo as static page generator, travis-ci as CI/CD and github pages as page hosting.
As I do not want to have 2 separate repositories as proposed by Claudio Jolowicz in his tutorial, I will use the possibility to host the source under main and the page itself under another branch. Github proposes as a standard to use gh-pagesfor the content itself, so I will follow it.
Github configuration
Create your github repository
Under your github account, create a new repository using the format <USERNAME>.github.io (in my case it is tomasalmeida.github.io). Pay attention the repository is public, I tried it as private and it did not work, so if it works for you, even better :-)

Set gh-pages as content branch
Now, let’s create our needed branch gh-pages and set it as the default content container. To do it, we need to start the repo locally and push the changes. I made a dummy commit, but you can directly create your hugo content if you prefer…
Create the repo locally
We will create the repository locally and create some content
mkdir tomasalmeida.github.io
cd $_
echo "# Visit https://tomasalmeida.github.io" >> README.md
git init
git add README.md
git commit -m "Here a new blog is born"
Create the needed branches
git branch -M main # I follow github naming and I use main instead of master
git branch gh-pages # the content branch
Link local and remote repository and push everything
git remote add origin git@github.com:tomasalmeida/tomasalmeida.github.io.git
git push origin '*:*'
git push origin --all # just a double check
Change the github content branch
Go to your github repository again and enter in settings. There scroll down to GitHub Pages section and change the branch from main to gh-pages. Save it.
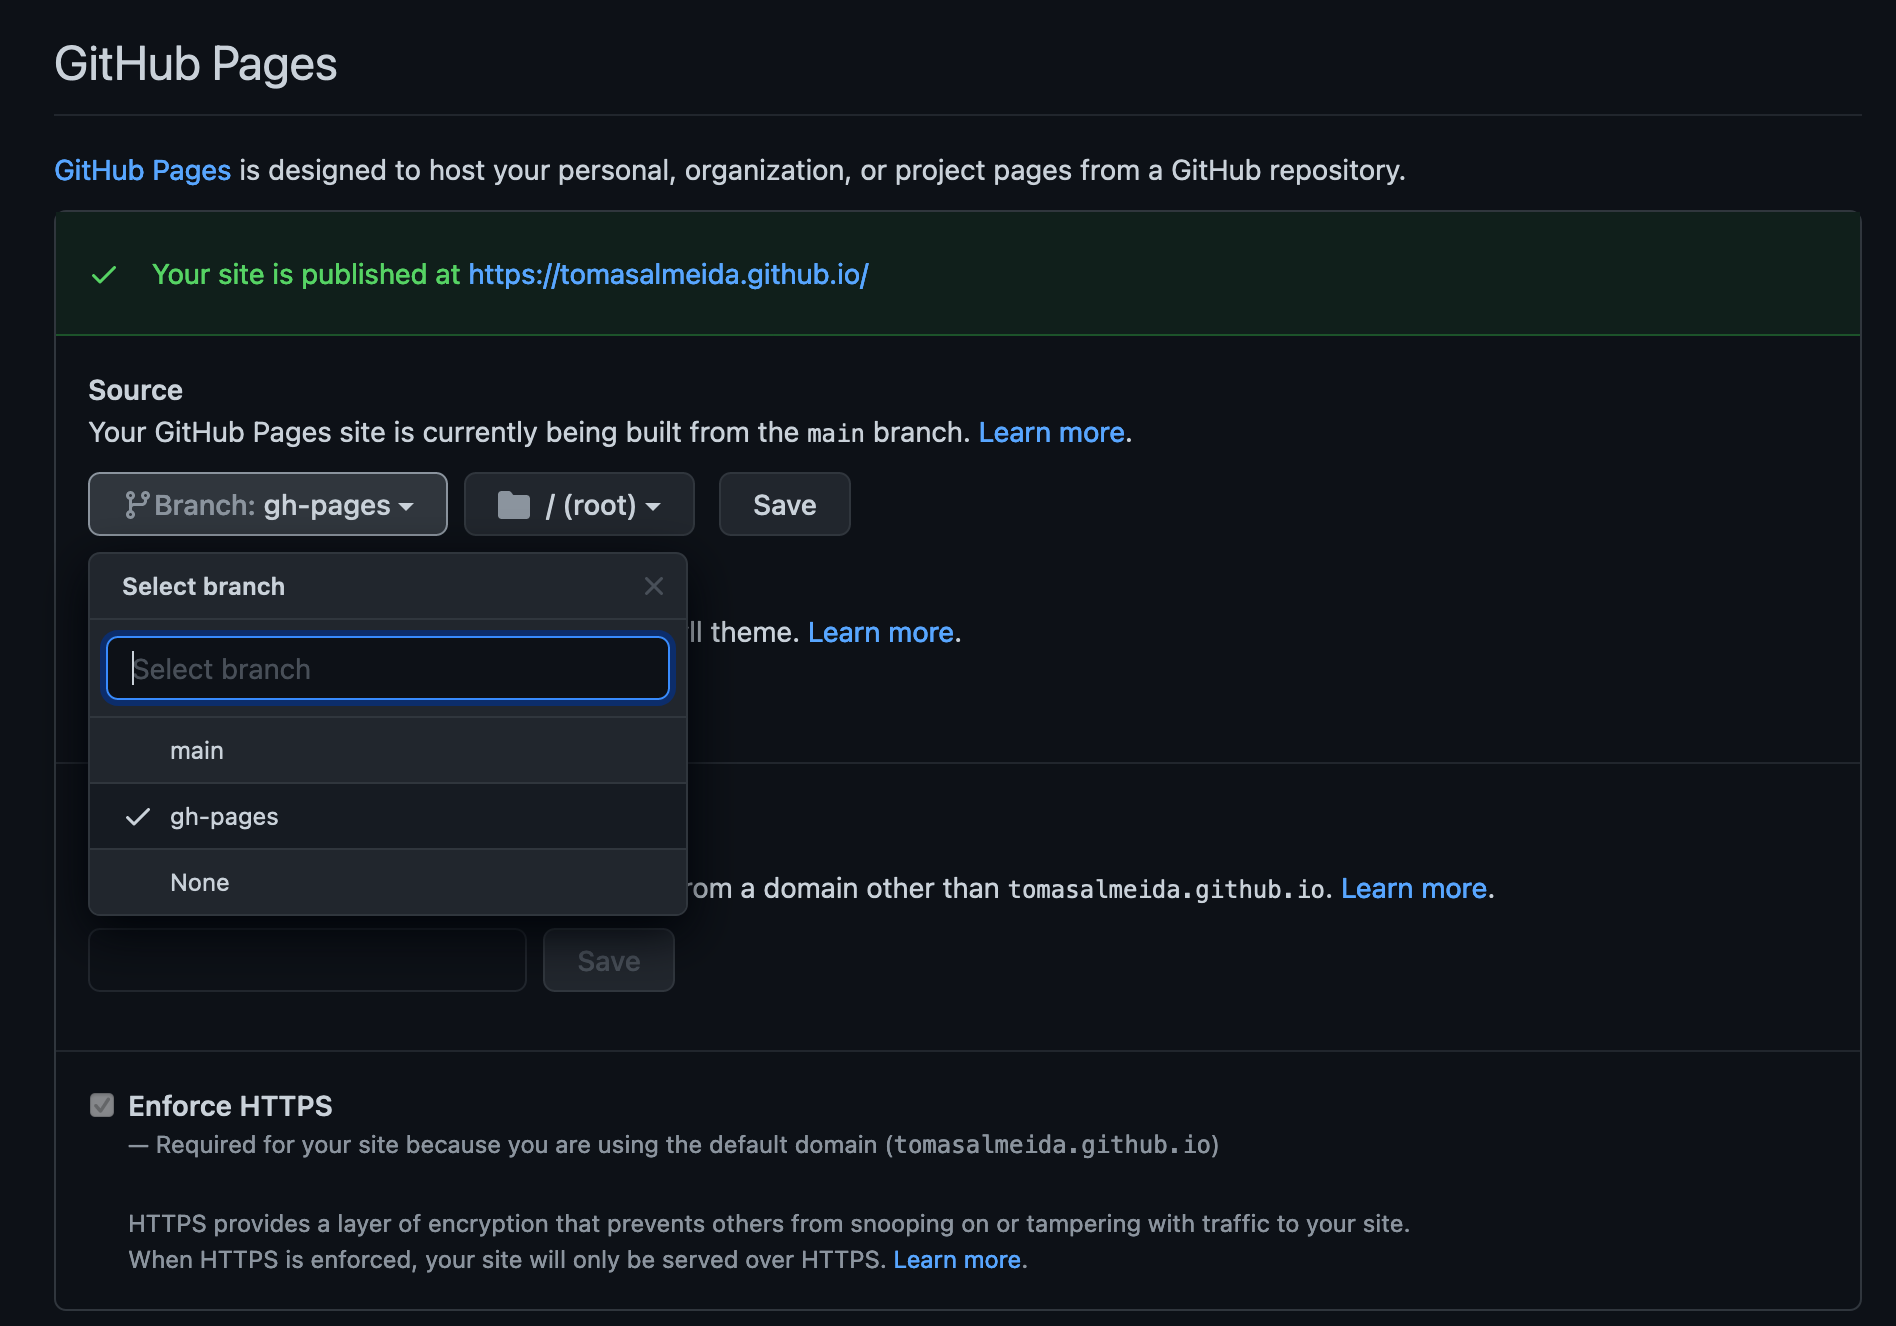
A more detailed explanation about how to change your github page branch can be found in github docs:
Optional: Define main as a protected branch
Let’s avoid unexpected commits on main branch. So:
- Go to your repository and then Settings. Url is
https://github.com/<USERNAME>/<USERNAME>.github.io/settings - Choose Branches option
- Add rule
- For “Branch name pattern”, put
main - Check “Require pull request reviews before merging”
- Check “Require status checks to pass before merging”
- Check “Require branches to be up to date before merging”
- Check " Page Build"
- Check “github/pages”
- “Create” and then “Save changes”.
- For “Branch name pattern”, put
Again, a more detailled explanation is available on github docs:
Travis configuration
Set up your travis-ci account
- Go to Travis-ci.com and Sign up with GitHub.
- Accept the Authorization of Travis CI. You’ll be redirected to GitHub. For any doubts on the Travis CI GitHub Authorized OAuth App access rights message, please read more details below
- Click on your profile picture in the top right of your Travis Dashboard, click Settings and then the green Activate button, and select the repositories you want to use with Travis CI.
Extracted from Travis CI Tutorial
In our case, we want to be sure our `
Github token
I believe one of the keys of my success is the steps described by CreatureSurvive in his/her very concise and useful post Hugo on GitHub Pages using Travis-CI for deployment. All needed information is there, but I will rephrase and detail some steps below.
Github tokens are a way to give permissions to other agents to access/act in your repositories without giving them your password.
Create a new github token
To generate a new token, go to your Settings (click in your avatar on the top right and then Settings) -> “Developer settings” option -> “Personal access tokens” option -> “Generate new token” button.
Choose a name (I recommend something meaningful like
travis-ci-token) and select repo checkbox (travis will commit changes for you).
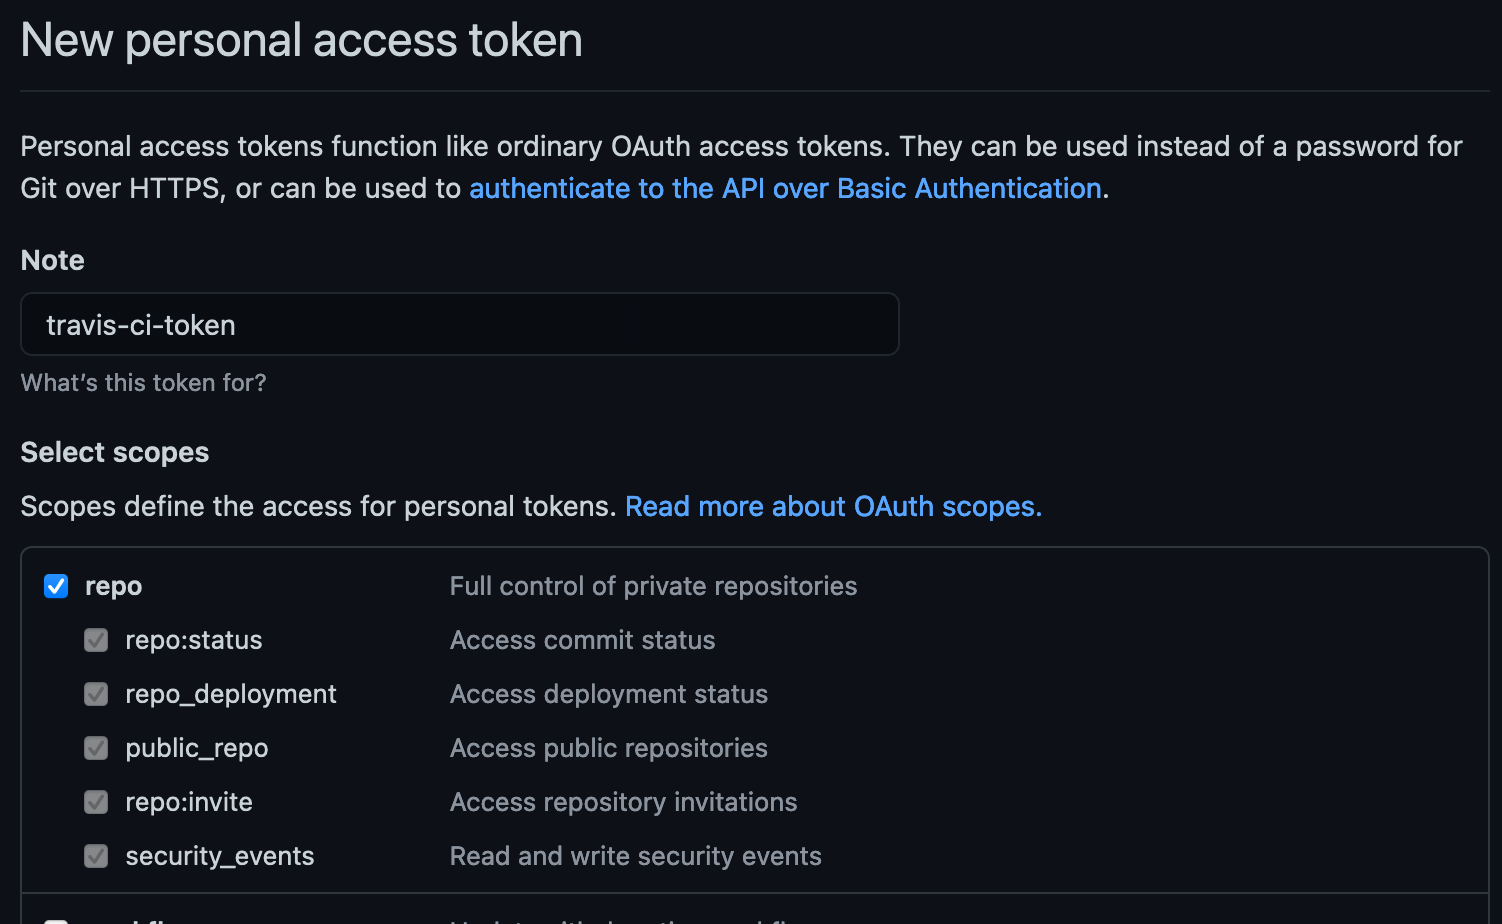
- Generate the token (button in the bottom) and store the value.
Set the github token in travis
- Go to
https://travis-ci.com/github/<USERNAME>/<USERNAME>.github.ioand in “more options” choose Settings. - Add a new environment variable called
GITHUB_TOKENand insert the token value.- Ensure Display value in build log is unchecked.
- Optionally: you can restrict the access to branch
main. - Save it.

Hugo configuration
Hugo offers an excellent quick start guide, but for the purpose to keep everything in one tutorial, I will detail the steps here.
Install Hugo
On macOS, I recommend using Homebrew. For windows or linux, please take a look on Install Hugo doc.
brew install hugo
Create the blog
As we already set up our repository locally, we will now set hugo there
cd tomasalmeida.github.io
hugo new site --force ./ # --force is needed as the folder is not empty
Define a theme
In https://themes.gohugo.io, you have several options to choose. I will use the same as in the Hugo tutorial: Ananke Gohugo Theme
git submodule add https://github.com/budparr/gohugo-theme-ananke.git themes/ananke
git add themes
git commit -m "Adding a submodule for the theme ananke"
Define a basic configuration for the site
Let’s add the basic configuration for the blog, as the url, the title and the theme we downloaded in the previous step.
For that open the config.toml and edit to to something similar to:
baseURL = "https://tomasalmeida.github.io/"
languageCode = "en-us"
title = "Tomás Dias Almeida notes"
theme = "ananke"
Commit the changes:
git add config.toml
git commit -m "Adding blog basic configuration"
Create Travis configuration
Last and easiest part, we will connect all together. Under the root of your project create the .travis.yml file with this content:
---
install:
  - curl -LO https://github.com/gohugoio/hugo/releases/download/v0.79.1/hugo_0.79.1_Linux-64bit.deb
  - sudo dpkg -i hugo_0.79.1_Linux-64bit.deb

script:
  - hugo

deploy:
  provider: pages
  skip_cleanup: true
  local_dir: public
  github_token: $GITHUB_TOKEN # already Set in travis-ci.org dashboard
  on:
    branch: main
Thanks again for CreatureSurvive and the useful post Hugo on GitHub Pages using Travis-CI for deployment.
Commit travis configuration file:
git add .travis.yml
git commit -m "Travis ci configuration"
Create your first post
Well, I am creating this post right now. As you can see I like to have the date in the name for organization. I believe it goes against SEO, but it is easier to maintain control over the posts.
hugo new posts/2020/12/creating-blog-using-hugo-travis-github.md
As you can see, a new file is created with something like this:
---
title: "Creating Blog Using Hugo Travis Github"
date: 2020-12-24T12:58:00+01:00
draft: true
---
Brief explanation:
- title: it is an auto generated title for your post.
- date: when the file was created
- draft: true means do not publish it.
If you want to see the changes directly in http://localhost:1313 if you can run
hugo server -D
Once your finish your post, it is time to commit everything (do not forget to change the draft option to false)
Commit and push the changes:
git add .
git commit -m "My first blog post about creating a blog and its first blog post"
git push --set-upstream origin main
Travis build job
When you push the changes, travis will launch a new build. You can review it at https://travis-ci.com/github/<USERNAME>/<USERNAME>.github.io
Once the build is done your website is visible after some seconds!